Step By Step Guide For EPDM Roofing Installation
Among all the commercial roofing materials, EPDM rubber roofing is the best alternative for durable and reliable roofing solutions. Ethylene Propylene Diene Monomer, a.k.a EPDM, entails a membrane of ply used to protect flat roofs from harsh damage and leaks. The reason EPDM roofing is largely preferred for commercial roofing is due to its extended life span. A well-installed EPDM roofing can last up to 60 years and more, depending on the maintenance and care practice.
It is essential to seek assistance from professional roofing solution providers who can extend the quality and reliable EPDM roofing installation. We have brought a quick guide to explain the steps for preparing for EPDM roofing installation and learn the appropriate way to ensure hassle-free work.
Steps To Prepare For EPDM Roofing Installation
There are different surfaces on which EPDM roofing can be installed. However, timber decking like OSB sterling board or roofing grade plywood should be preferred to ensure optimum efficiency. Single ply roofing is easier to install with the ballasted system, mechanical fasteners, or chemical adhesive.
Here are the steps to prepare for the installation:
Step 1: Preparing The Roof Deck
Clean the roof deck (plywood or OSB board) using oil or grime; ensure to sand all the sharp edges. There should be no moisture left on the deck to avoid adhesive issues. Add a layer of insulation to prevent water vapor formation. Follow the manufacturer’s guidelines throughout the installation process.
Step 2: Adding Drip Edge And Batten
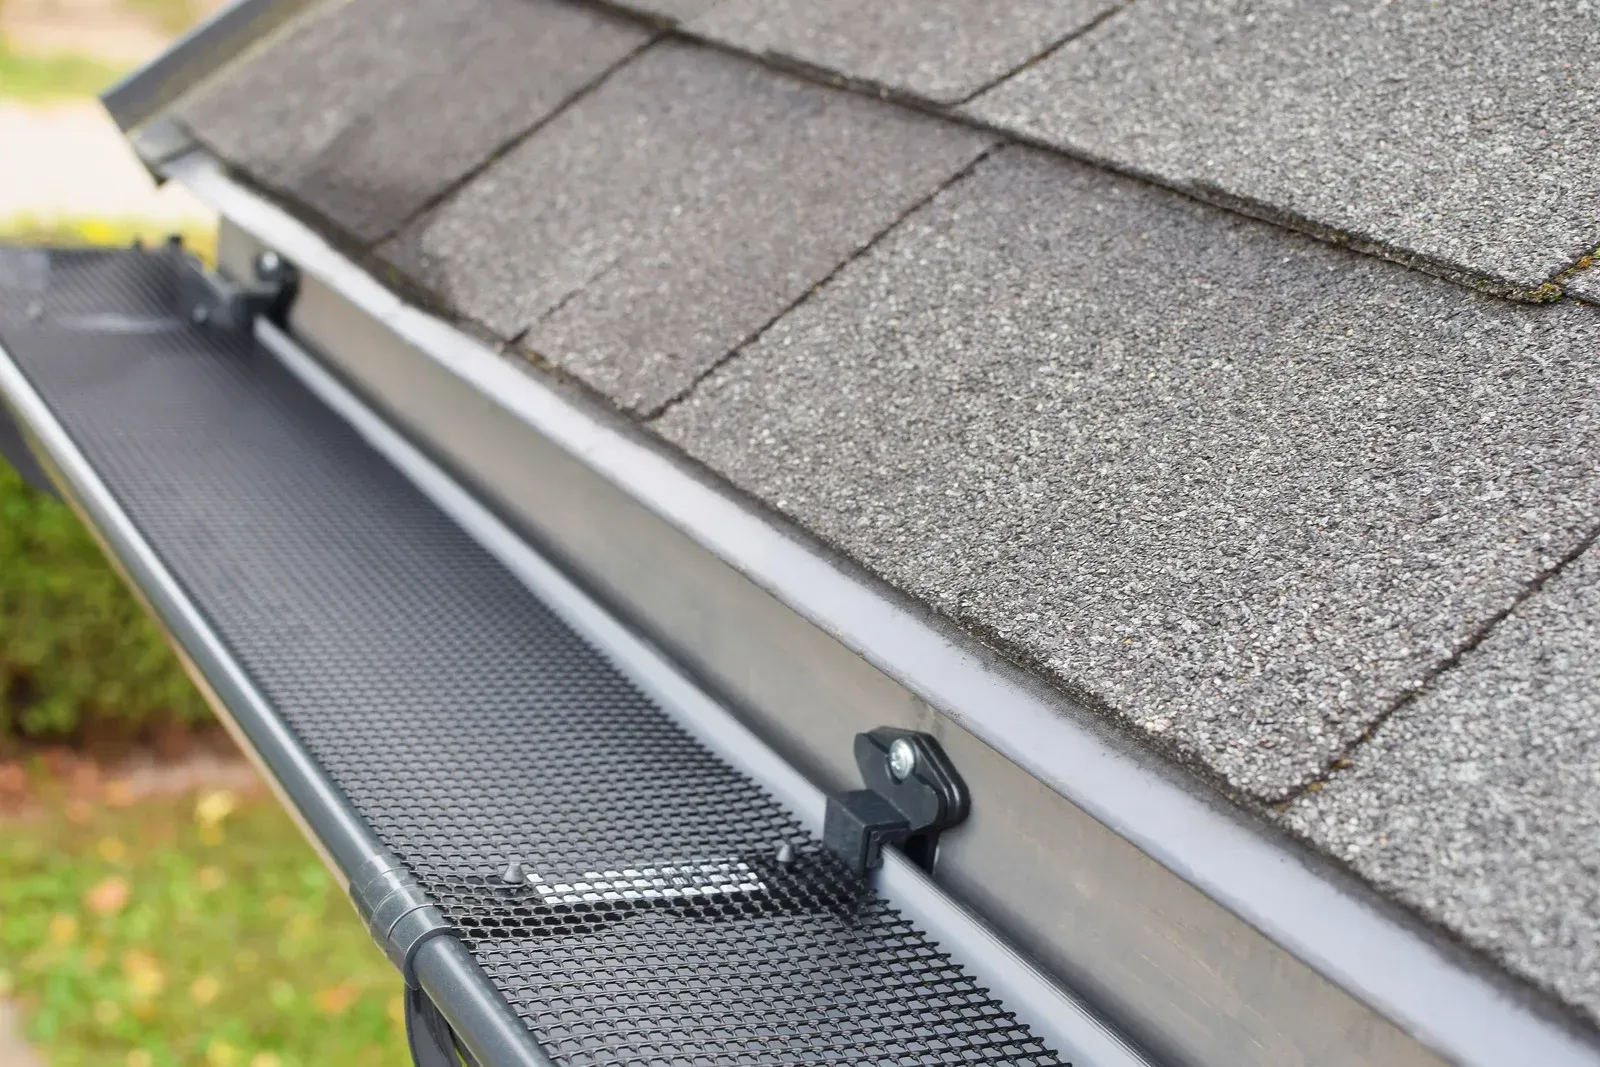
It is crucial to create adequate drainage when installing any roofing. When the deck is ready, start installing the drip batten around the roof. It helps extend the deck to create a pathway to drain water towards the gutter system or groundwater storage. After this, install a drip edge that should be aligned with the curved top of the batten. This step will prevent any erosion due to water collection on the roof.
Step 3: Installing EPDM Membrane
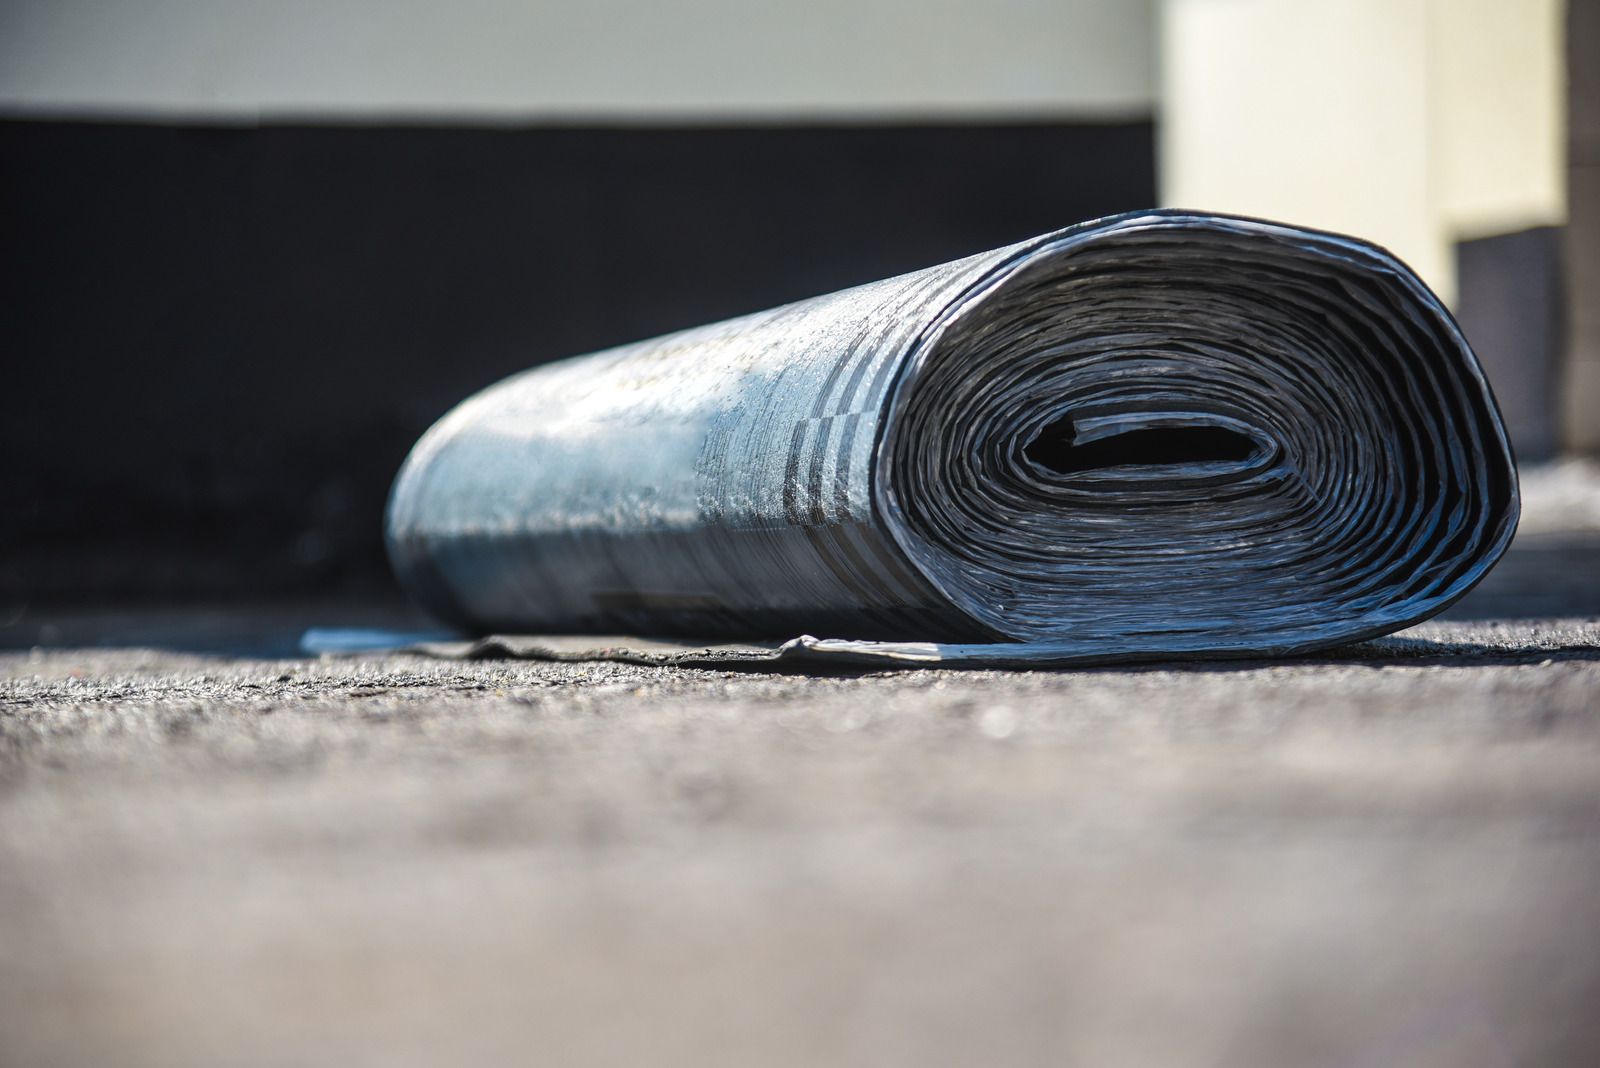
One of the most crucial steps in the entire process is to cover the roof with an EPDM membrane. Carefully unwrap the EPDM membrane and unroll it to gently place it over the roof. The membrane should sit still over the roof for approximately one hour.
After an hour, roll back the membrane exposing the roof decking. Now start applying bonding adhesive leaving at least a 6-inch gap around the edges. Reattach the membrane when the adhesive is wet. Ensure to flatten all the air bubbles to strengthen the bond.
Step 4: Finishing Touches
Edges need extra protection. For this, apply adhesive on the border and seal it with pressure-sensitive flashing. If there is any penetration on the roof, including vents, or chimneys, don’t forget to use watertight seals. Silicone sealants are majorly preferred for sealing the edges and preventing moisture. In the end, trim off all the excess membrane to complete the process.
There you have it! Freshly sealed EPDM roofing. If you follow all the steps diligently, you can avail precision work.
Connect With Professionals For EPDM Roofing
Professionals can make the job a lot easier and more efficient. EPDM roofing requires quality workmanship which can only be sufficed with professional assistance. Colorado Western Construction offers reliable EPDM roofing installation services in Denver and surrounding areas. We are the top-rated roofing experts that Colorado has been trusting for years.